Planning for 2019: Weekly Planning
Now it’s time to get into the nitty-gritty of what my planner is designed for—planning out my weeks so that I can be productive daily.
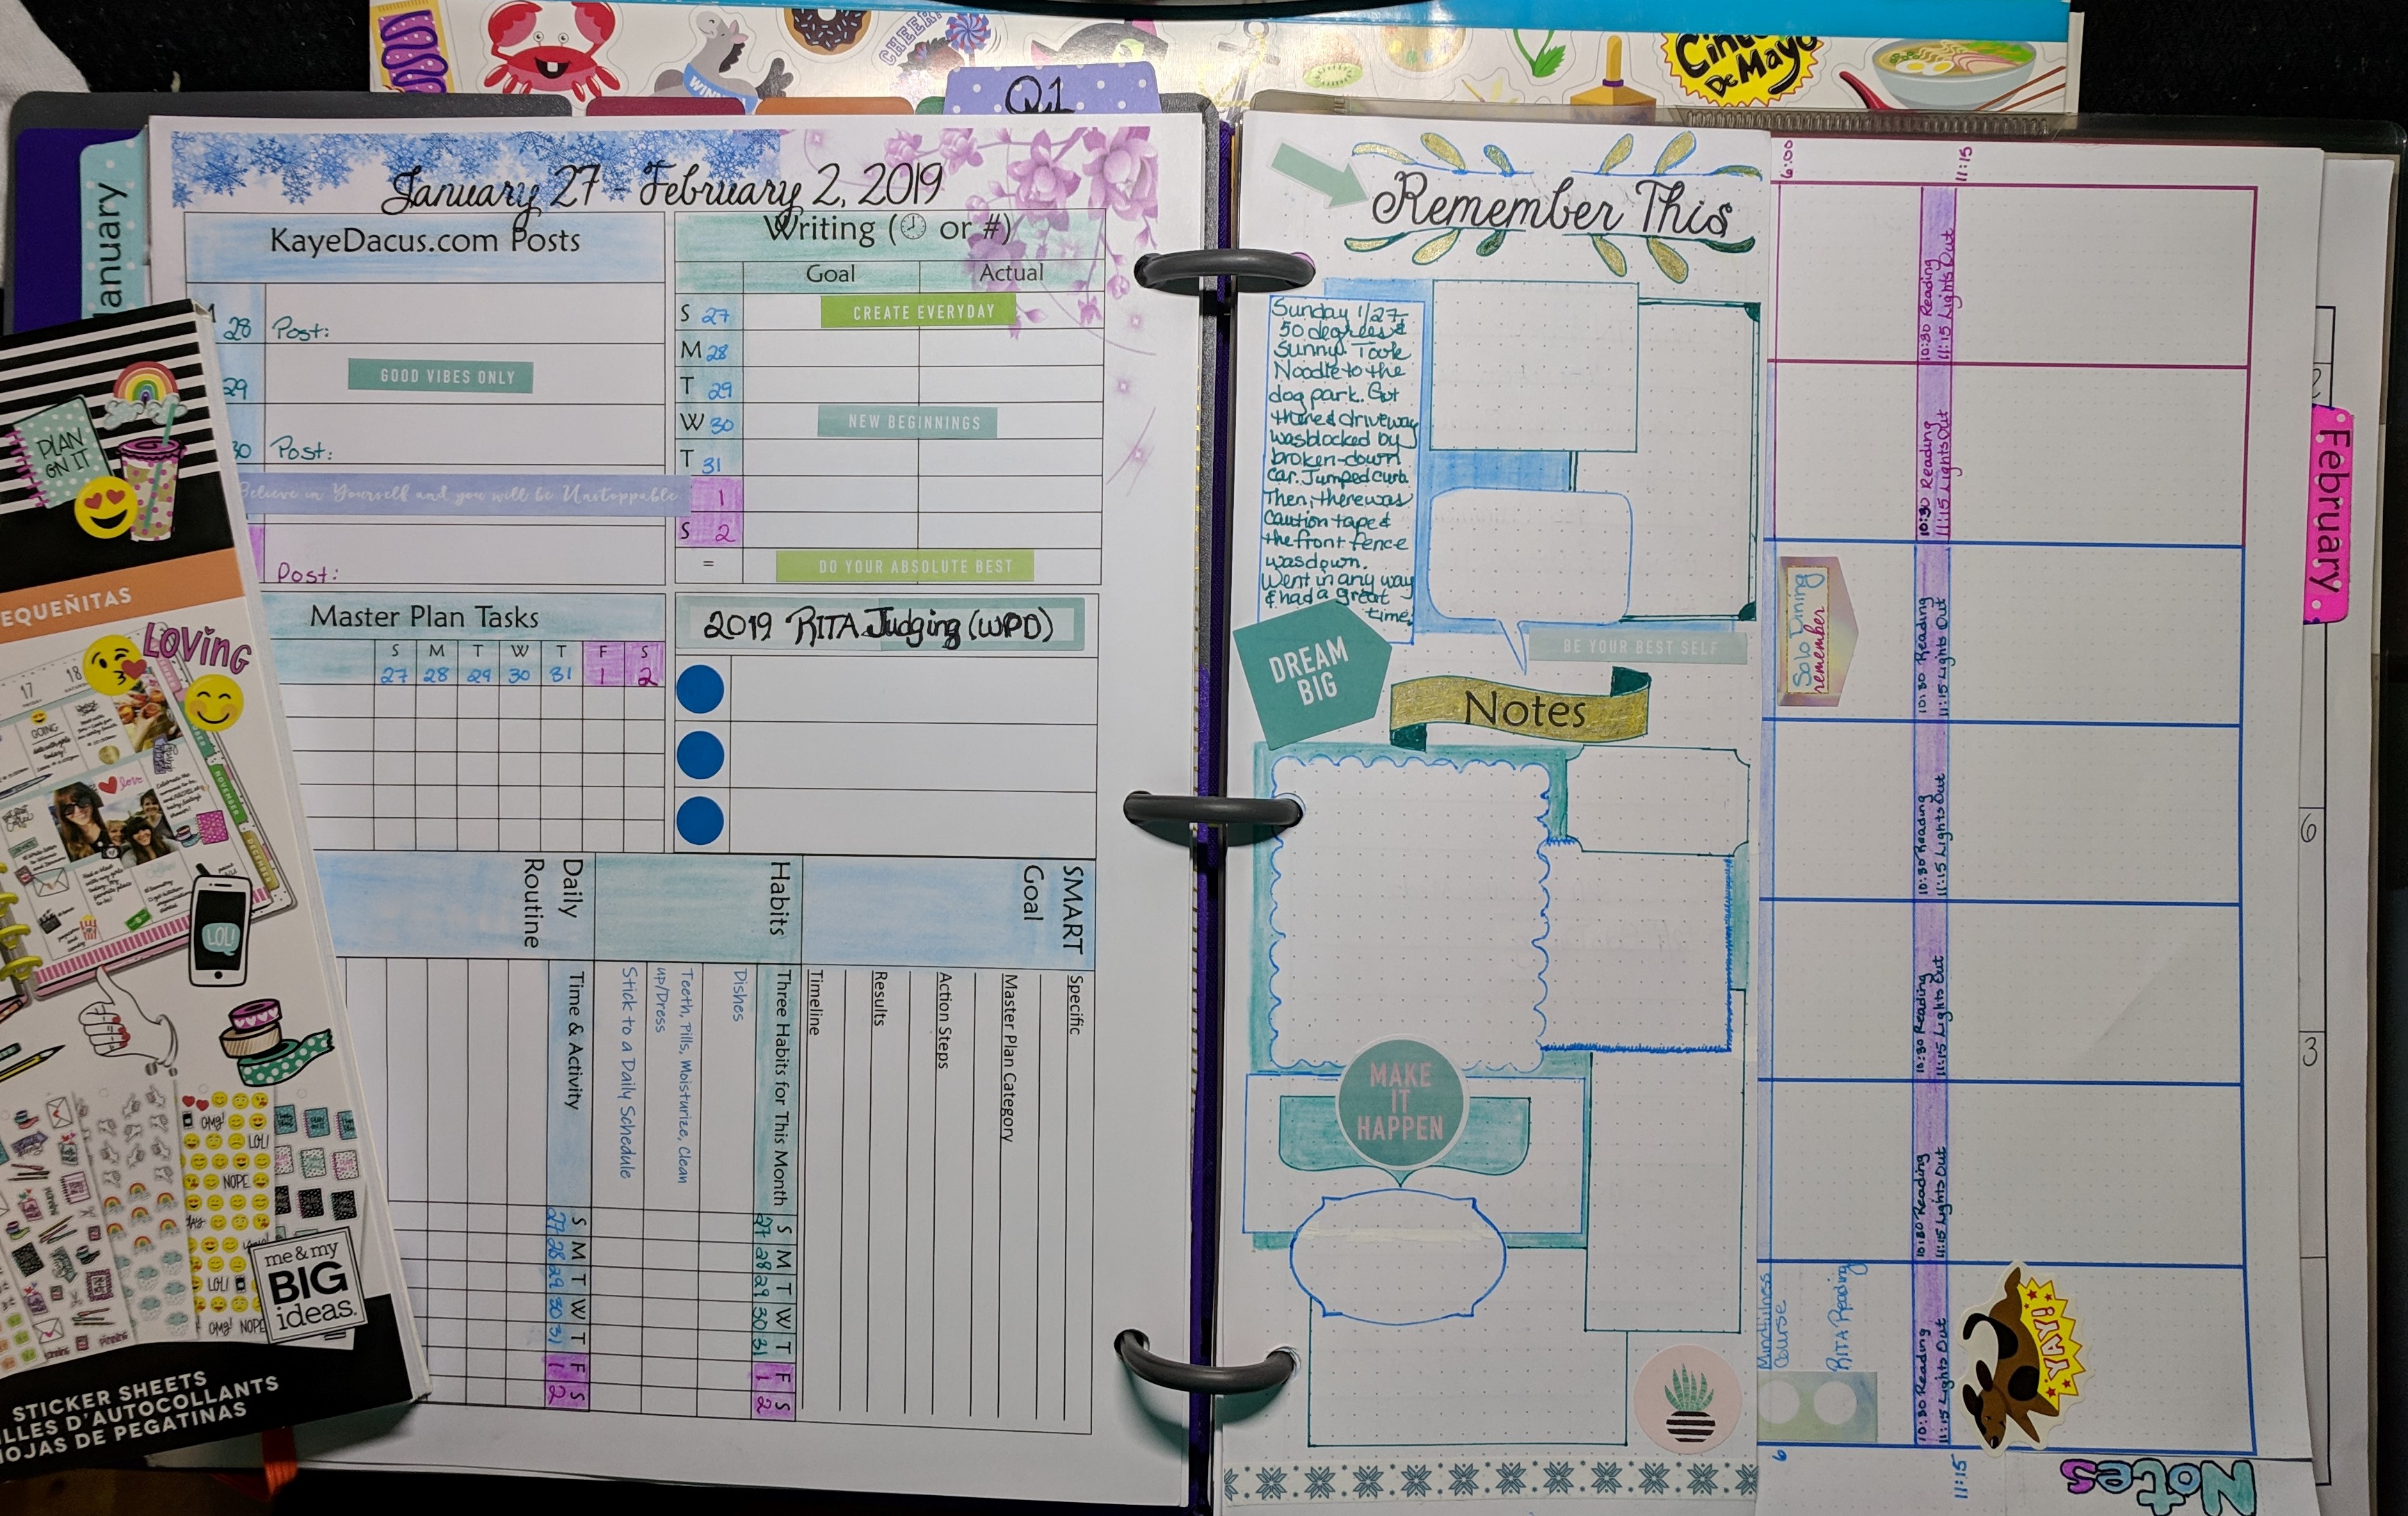
In this YouTube video, I walk through setting up my weekly planning spreads (the script I worked from is pasted below the video).
Hi, all! Welcome back to the channel! Today, I’m going to show you how I set up my weekly planning spreads!
A few people have asked me how I set up the computer files, so here’s a quick, sped-up look at the layout and design process. I didn’t show it from the beginning, where I set up all of the tables and modules in Publisher and Excel, because that would have taken hours, even on four-times speed like this is. But this should at least give you an idea of what I do when I’m designing my planner. As I mentioned in a previous video, once I found the snowflake border that I really liked, I went ahead and added it to all January pages because I like consistency and continuity. And, as also mentioned, it drove the color scheme for January. But since this week includes days for next month, I decided to go ahead and introduce the banner art and color for February on those days as well.
I discovered in the design process that having the weekly spread set up in a separate file works better for me—it’s easier to go in and make the date and art and color changes in this file rather than in the one that has all of the quarter, month-at-a-glance calendar, and monthly planning spreads for the whole year. Now, because I only print out the weekly spreads a month or so in advance, in case I decide I want to make changes to a layout or box for that month, I’m only printing eight to ten pages at a time—but I do have all of the quarterly and monthly pages already printed and in the notebook to help with future planning.
Once I’m happy with the way the week-at-a-glance looks, I save it as an image and then insert that into the main Planner document—that’s the file where all the rest of the planner pages live—it makes it easier to turn it into the landscape orientation without messing up the layout of any of the elements. I then do this for each week of the month and print them all out at the same time.
In another separate file, I have my dutch-door notes and to-do list. Because it’s half a page, I can print two weeks on one sheet of paper, so I don’t usually print more than that, since there’s no point in having those just lying around loose. Then it’s time to get planning!
Before I start, I make sure I have all the supplies I need—the correct colored gel pens (here I’m using PaperMate InkJoy in Pink, Light Blue, and Aqua, some store-brand colored pencils in Mediterranean teal, bubbly blue, and—not pictured—berry; and a Pilot Precise V5RT fine-point black gel ink pen—along with a pencil. I have several different sticker books I’ve picked up in various places—from Amazon to Target to JoAnn. And I’m ready to get started.
The first part of the process is adding a little color to the module headers as well as adding in the dates.
I use the colored pencils to color the headers, as anything else just makes a mess of the ink-jet toner. My food blog, LowCarbKaye.com, is on hold until at least March. So, I used some stickers to repurpose that three-day block for a priority project I do have going on right now. Then, I used some stickers in the modules for my main blog, KayeDacus.com, where I’m only posting three days a week right now, as well as for my writing schedule, which is also on hold for the time being.
Then it’s time to decorate my Notes half-page. I outline the text boxes in pen, then colored in around them with pencil. I also included some banners from the stencils as well as some stickers, just to make it fun. Oh, and I added a metallic gold gel ink pen to this, too.
On the back of that dutch-door is my to-do list for the week.
I start by going back to last week’s list to see what I didn’t get done and needs to be moved forward to this week.
I also look at my month-at-a-glance calendar and add anything important from there, as well as any additional Post-it notes I’ve written to myself. I make sure to leave room for more to-dos as the week goes on.
Since my Quarter 1 goal is sticking to a structured daily schedule for the work-day part of the day, that part of my week-at-a-glance is pretty easy to fill out. Here’s where I do bring in the coded colors—such as blue for work and orange for breaks or personal tasks or errands. Sunday is a much less structured day, but with multiple tasks that need to at least be started if not completed, so it gets its own to-do list.
And that’s it. There’s a lot more I need to fill in, but since a lot of that is of a personal nature—or it’s things like blog post ideas that I haven’t figured out yet—I won’t bore you with all those details.
Remember, if you like this content and would enjoy seeing more videos like this, please click that thumbs-up and hit the subscribe button—and don’t forget to ring the bell to make sure you get updates whenever I upload a new video.
See ya later!


Comments are closed.